Running a script to install local object storage buckets and create connections
If you do not have your own S3-compatible storage or if you want to use a disposable local "Super Simple Storage Service" (S4) instance instead, run a script (provided in the following procedure) that automatically completes these tasks:
-
Creates an S4 instance in your project.
-
Creates two storage buckets in that S4 instance.
-
Generates a random user id and password for your S4 instance.
-
Creates two connections in your project, one for each bucket and both using the same credentials.
-
Installs required network policies for service mesh functionality.
| The S4-based Object Storage that the script creates is not meant for production usage. |
| If you want to connect to your own storage, see Creating connections to your own S3-compatible object storage. |
-
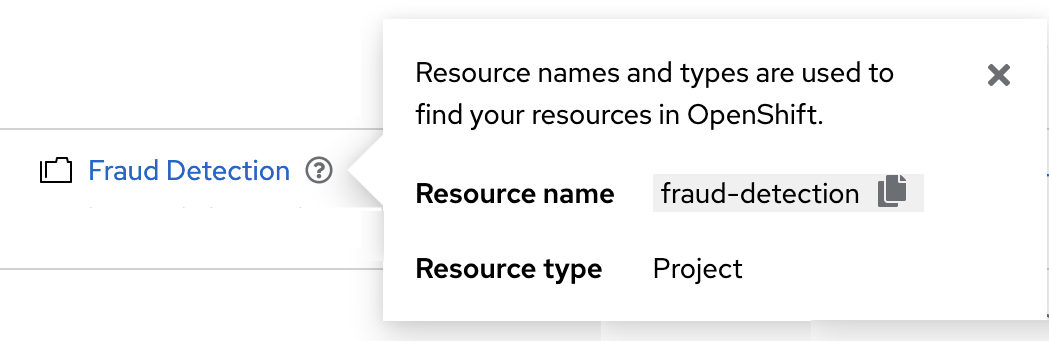
You must know the OpenShift resource name for your project so that you run the provided script in the correct project. To get the project’s resource name:
In the OpenShift AI dashboard, select Projects and then click the ? icon next to the project name. A text box opens with information about the project, including its resource name:
|
The following procedure describes how to run the script from the OpenShift console. If you are knowledgeable in OpenShift and can access the cluster from the command line, instead of following the steps in this procedure, you can use the following command to run the script: oc apply -n <your-project-name> -f https://github.com/rh-aiservices-bu/fraud-detection/raw/main/setup/setup-s3-job.yaml |
-
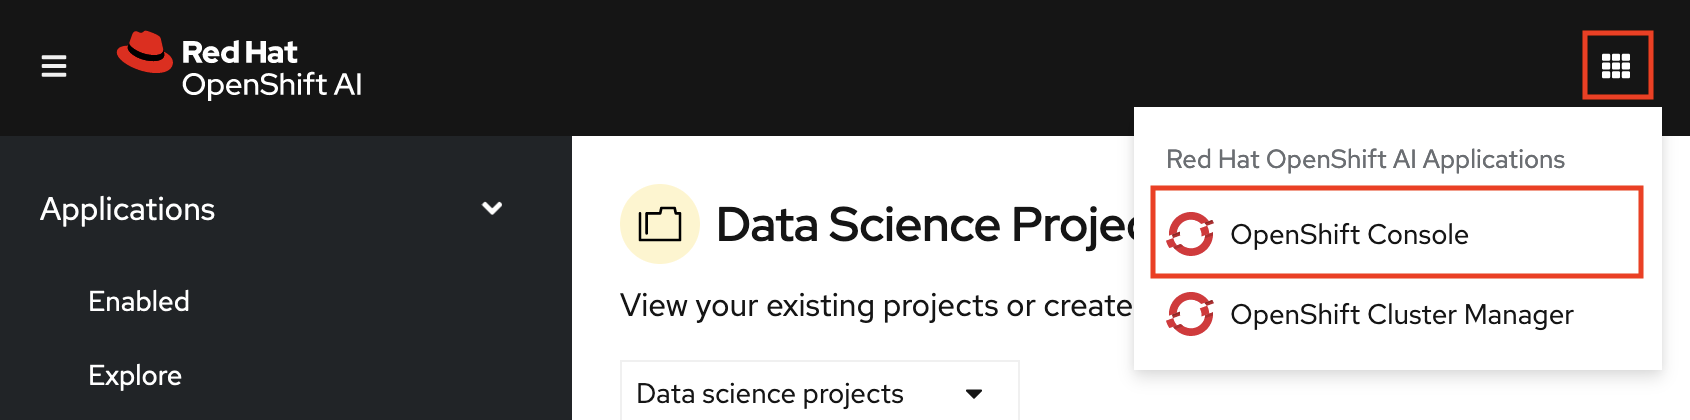
In the OpenShift AI dashboard, click the application launcher icon and then select the OpenShift Console option.
-
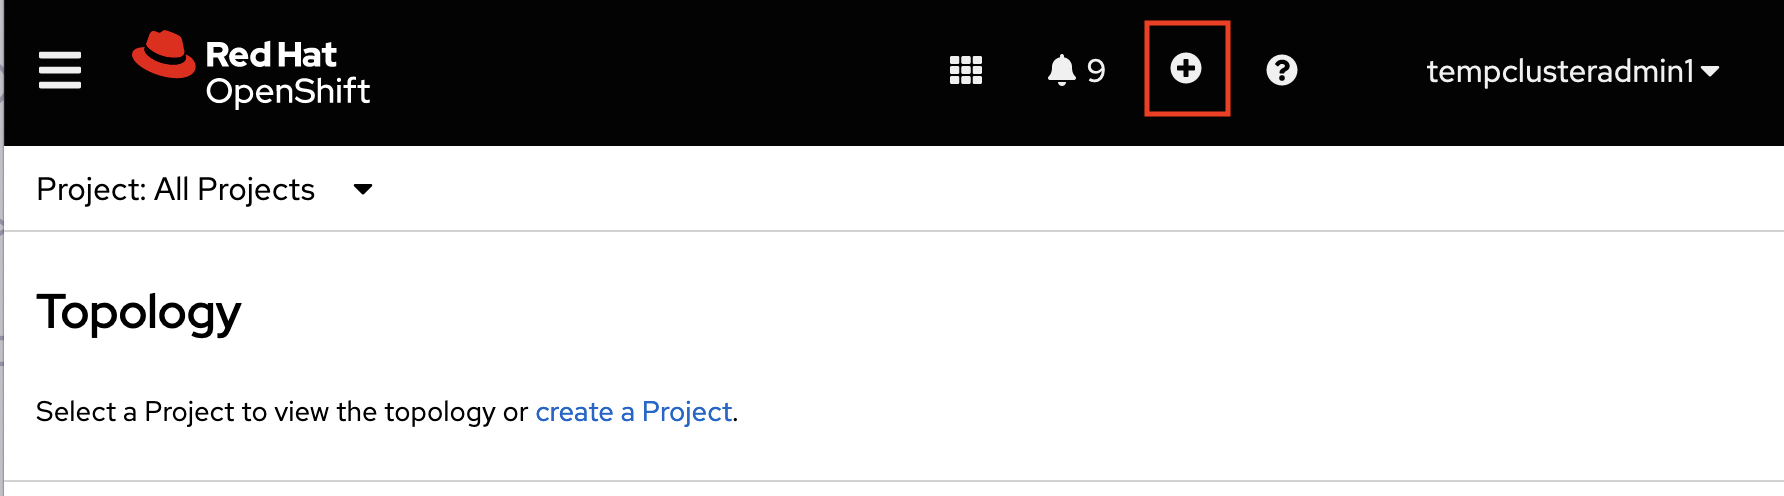
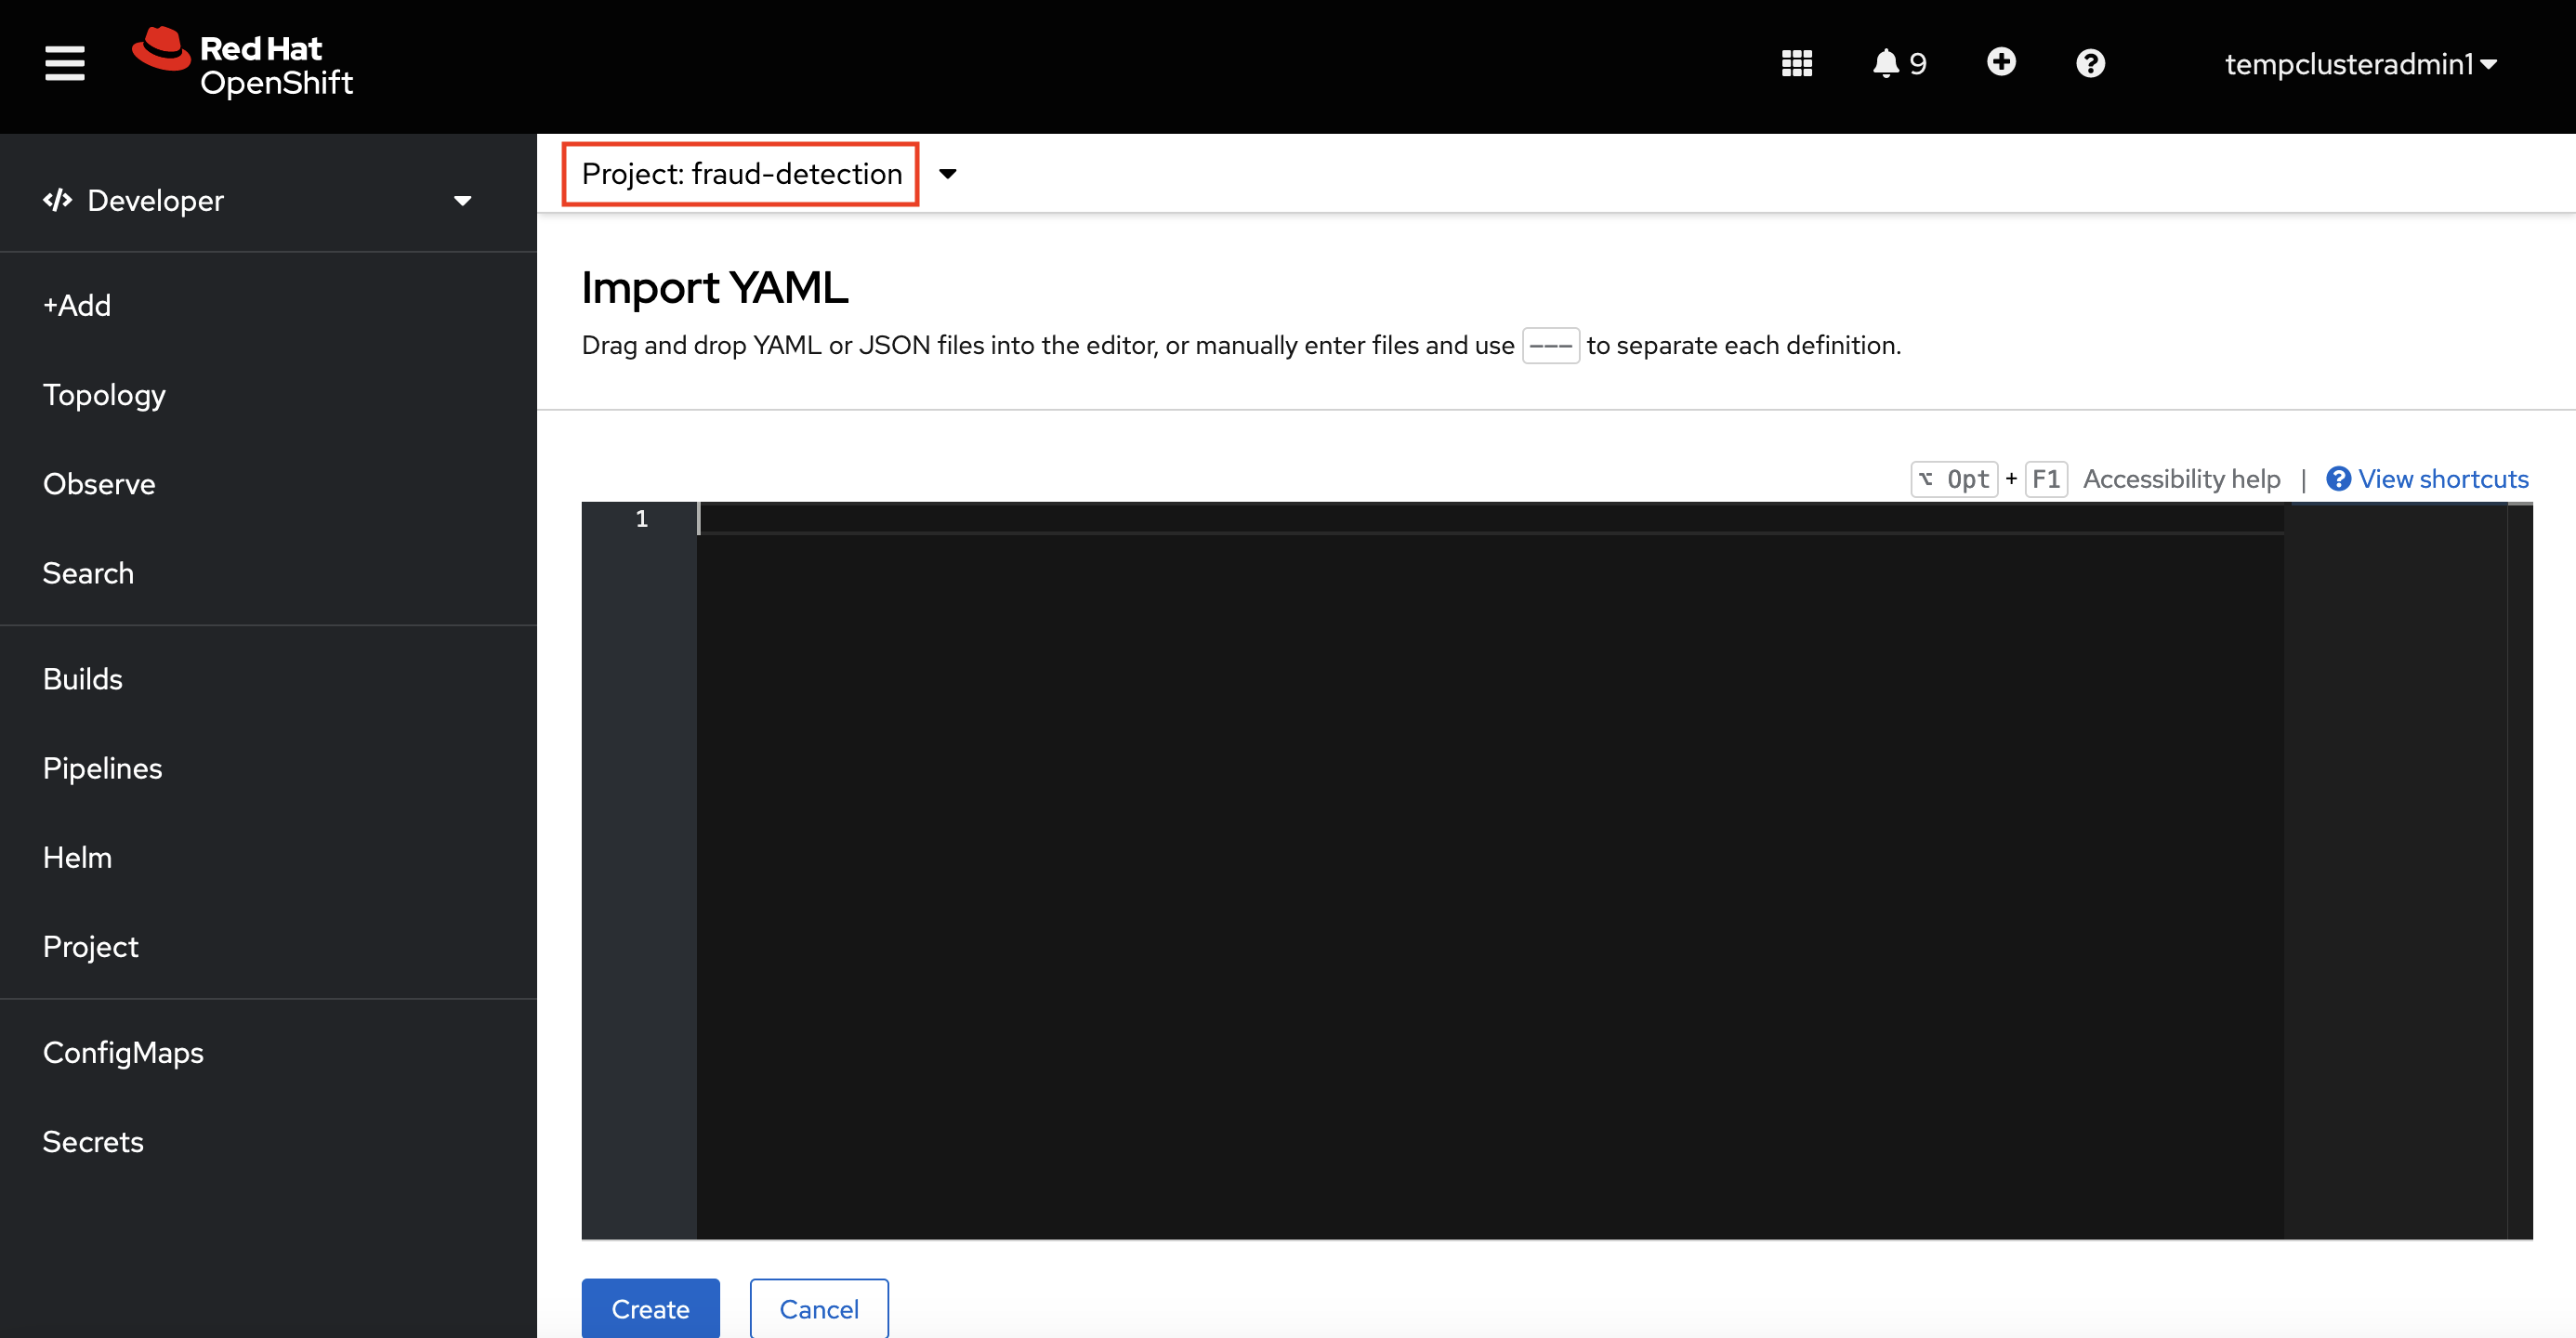
In the OpenShift console, click + in the top navigation bar, and then click Import YAML.
-
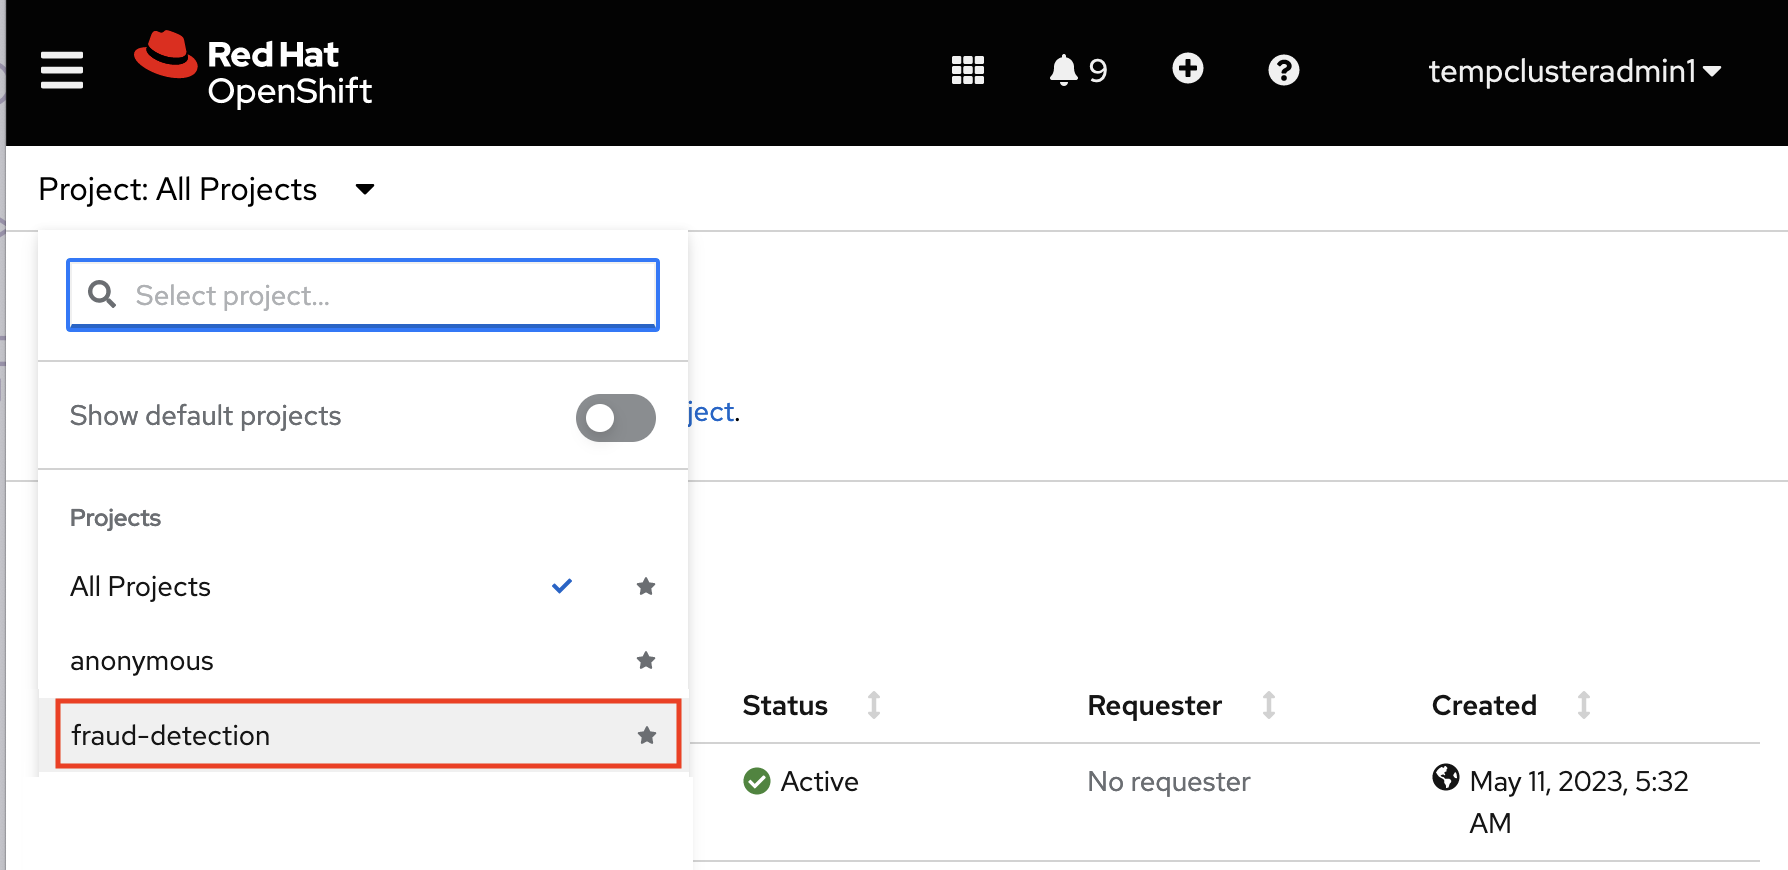
Click the down arrow next to the project name, and then select your project from the list of projects. If needed, type the name of your project in the Select project search field.
-
Verify that you selected the correct project.
-
Copy the following code and paste it into the Import YAML editor.
This code is the contents of the setup-s3-job.yamlfile. It applies thesetup-s3-no-sa.yamlfile.--- apiVersion: v1 kind: ServiceAccount metadata: name: demo-setup --- apiVersion: rbac.authorization.k8s.io/v1 kind: RoleBinding metadata: name: demo-setup-edit roleRef: apiGroup: rbac.authorization.k8s.io kind: ClusterRole name: edit subjects: - kind: ServiceAccount name: demo-setup --- apiVersion: batch/v1 kind: Job metadata: name: create-s3-storage spec: selector: {} template: spec: containers: - args: - -ec - |- echo -n 'Setting up S4 instance and connections' oc apply -f https://github.com/rh-aiservices-bu/fraud-detection/raw/main/setup/setup-s3-no-sa.yaml command: - /bin/bash image: image-registry.openshift-image-registry.svc:5000/openshift/tools:latest imagePullPolicy: IfNotPresent name: create-s3-storage restartPolicy: Never serviceAccount: demo-setup serviceAccountName: demo-setup -
Click Create.
-
In the OpenShift console, there is a "Resources successfully created" message and a list of the following resources:
-
demo-setup -
demo-setup-edit -
create-s3-storage
-
-
In the OpenShift AI dashboard:
-
Select Projects and then click the name of your project, Fraud detection.
-
Click Connections. There are two connections listed:
My StorageandPipeline Artifacts.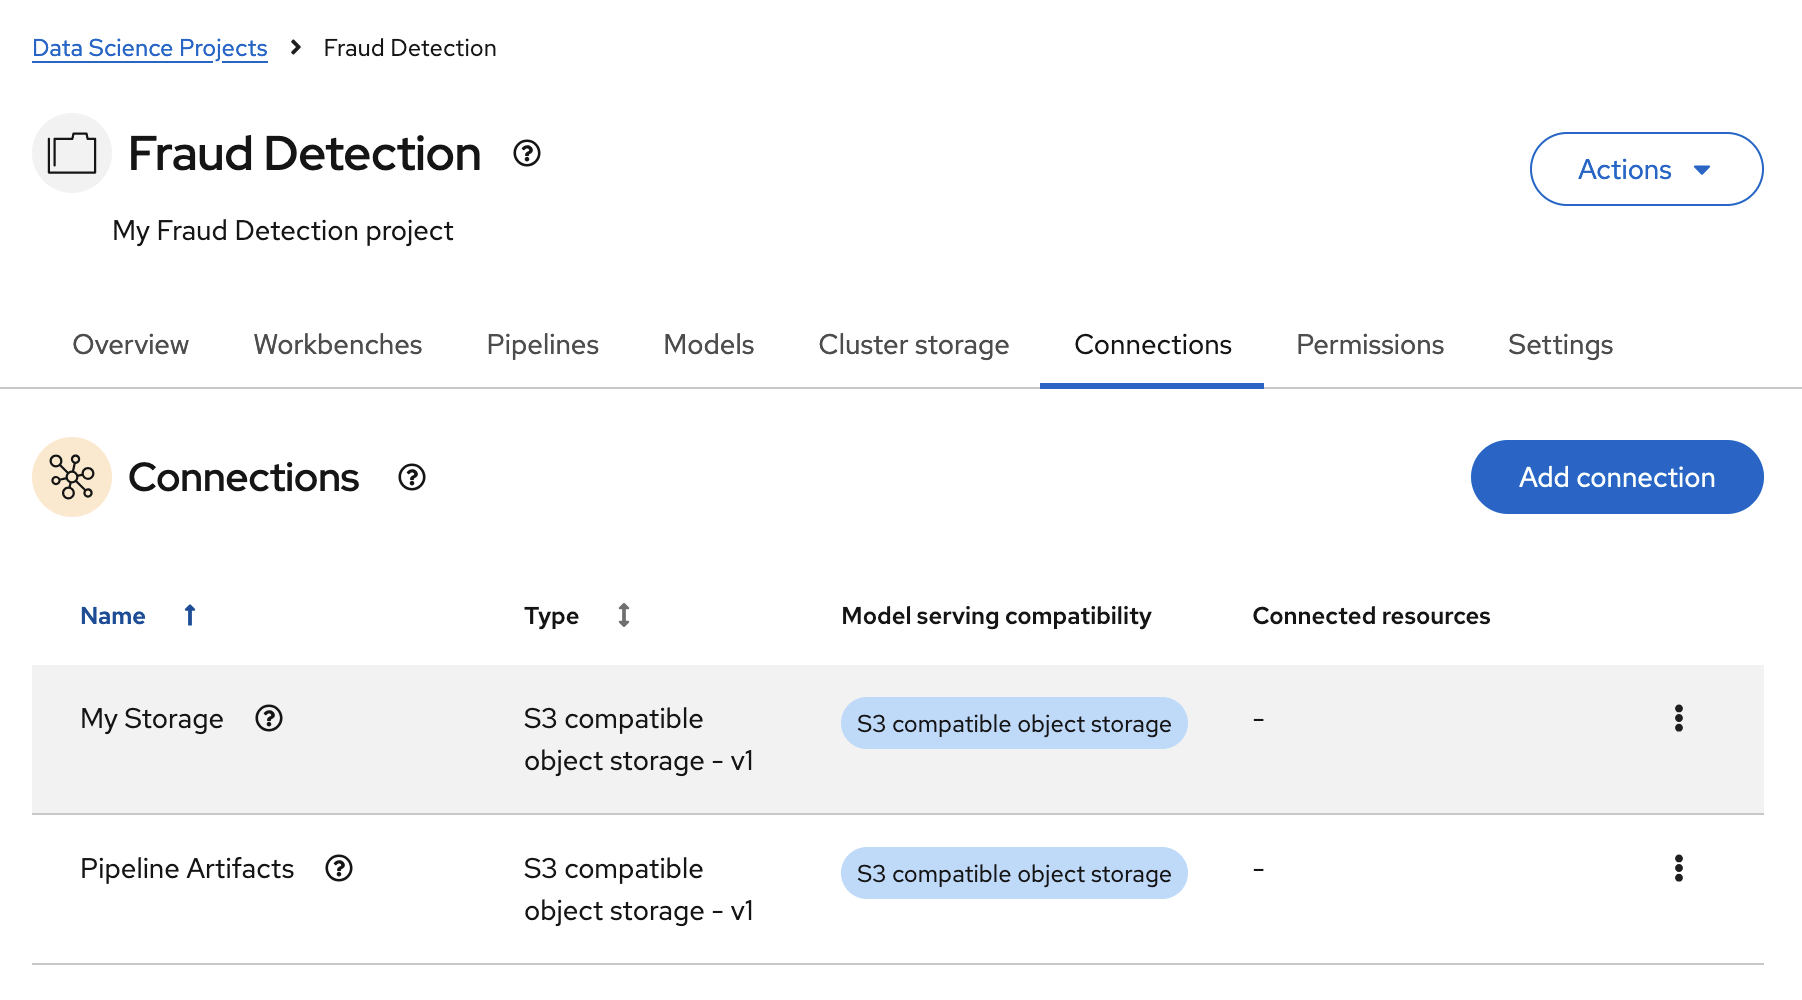
-
|
If your cluster uses self-signed certificates, your OpenShift AI administrator might need to configure a certificate authority (CA) to securely connect to the S3 object storage, as described in Accessing S3-compatible object storage with self-signed certificates (Self-Managed). |
-
Decide whether you want to complete the pipelines section of this workshop. With OpenShift AI pipelines, you can automate the execution of your notebooks and Python code. You can run long training jobs or retrain your models on a schedule without having to manually run them in a notebook.
If you want to complete the pipelines section of this workshop, go to Enabling AI pipelines.
-
Decide whether you want to complete the Distributing training jobs with the Training Operator section of this workshop. In that section, you implement a distributed training job by using Kueue for managing job resources.
If you want to complete the Distributing training jobs with the Training Operator section of this workshop, go to Setting up Kueue resources.
-
Otherwise, skip to Creating a workbench.