Creating a workbench
A workbench is an instance of your development and experimentation environment. When you create a workbench, you select a workbench image that has the tools and libraries that you need for developing models.
-
You created a
My Storageconnection as described in Storing data with connections. -
If you intend to complete the pipelines section of this workshop, you configured a pipeline server as described in Enabling AI pipelines.
-
If you intend to complete the Distributing training jobs with the Training Operator section of this workshop, you completed the procedure described in Setting up Kueue resources.
-
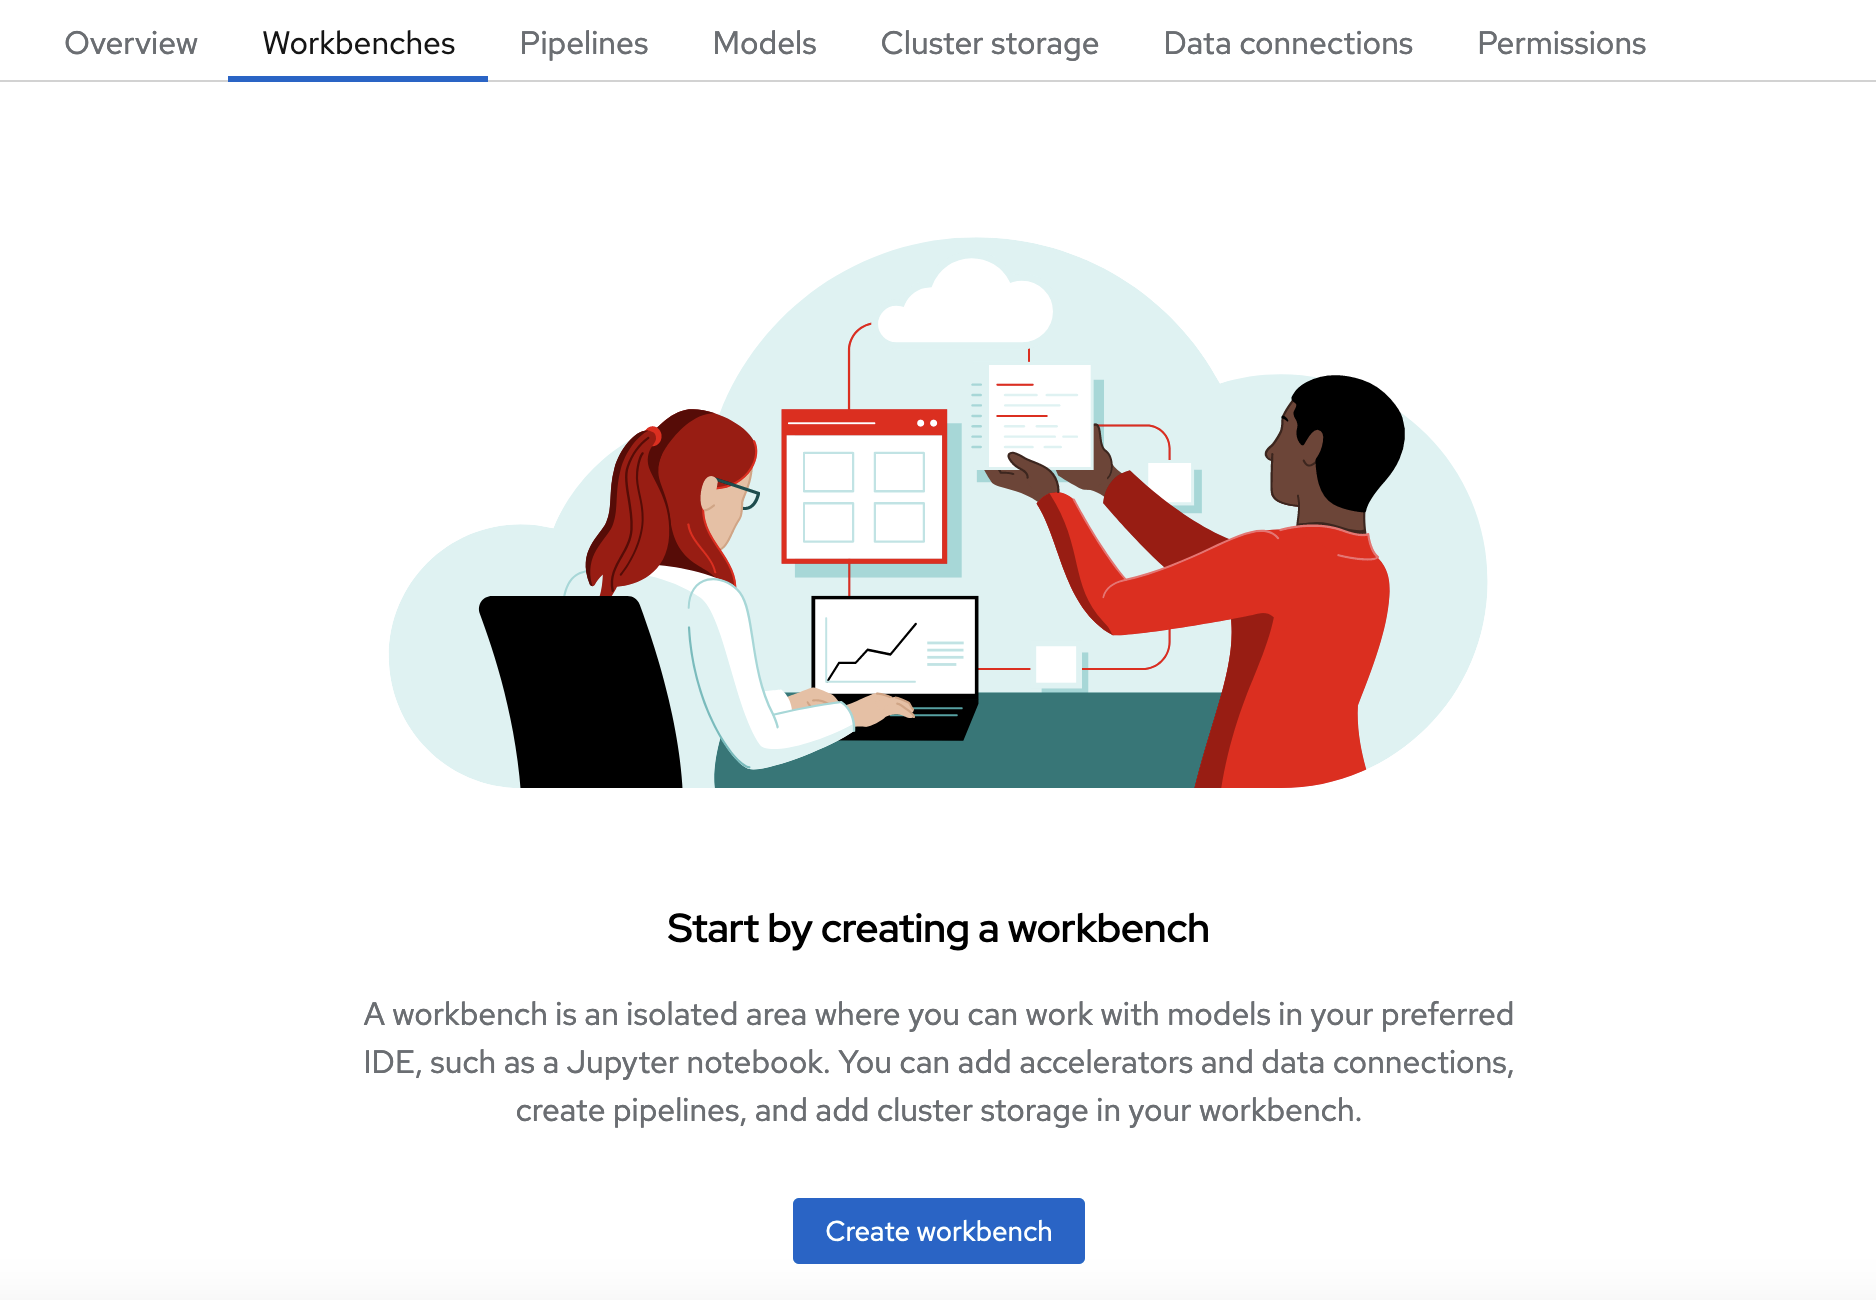
Navigate to the project detail page for the project that you created in Setting up your project.
-
Click the Workbenches tab, and then click the Create workbench button.
-
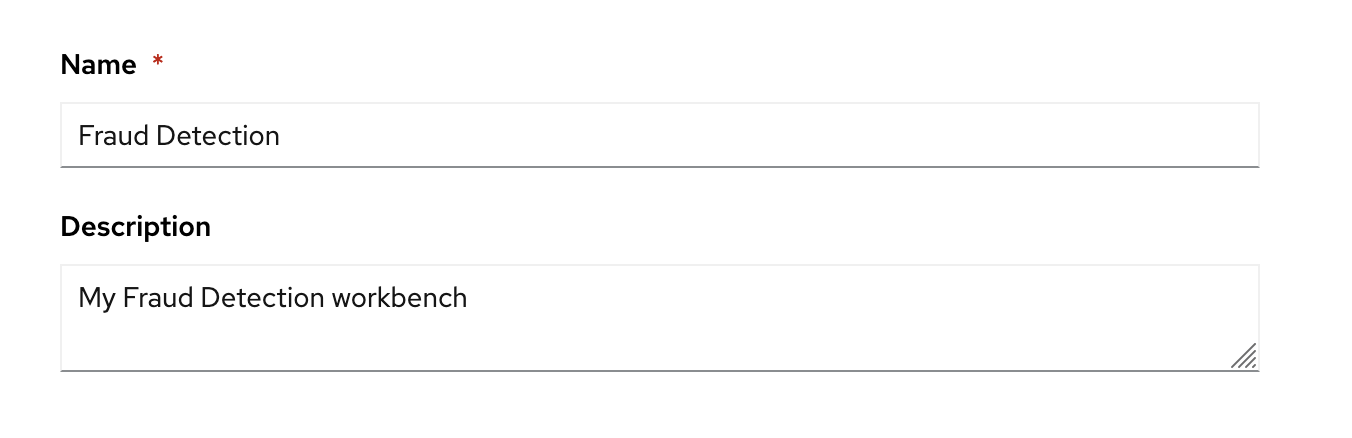
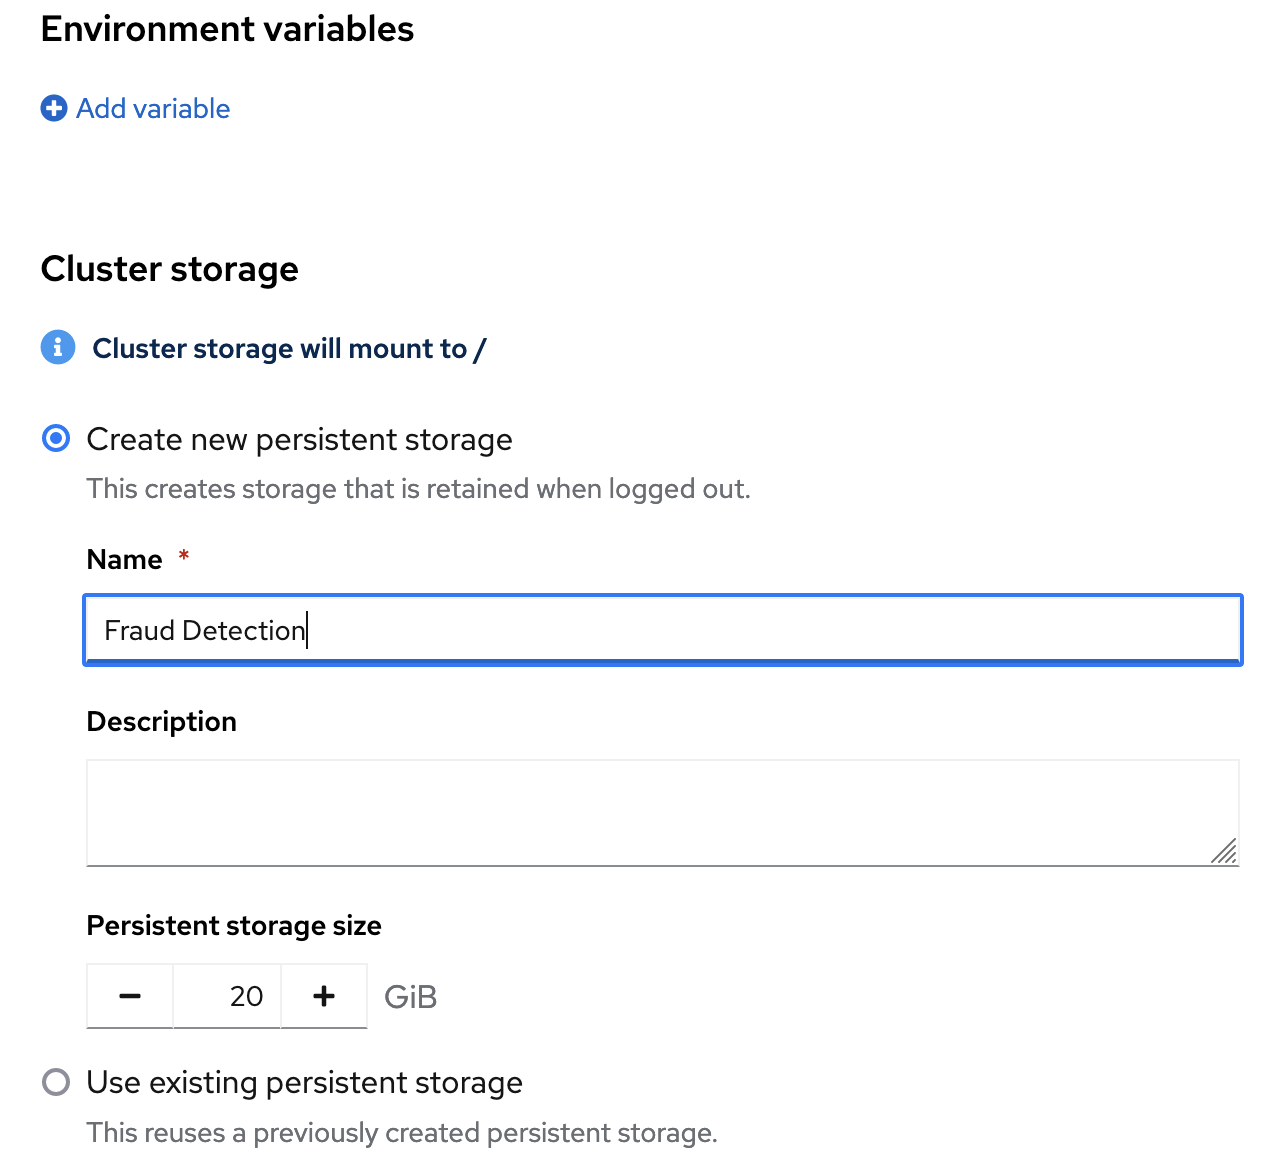
Enter the name and description.
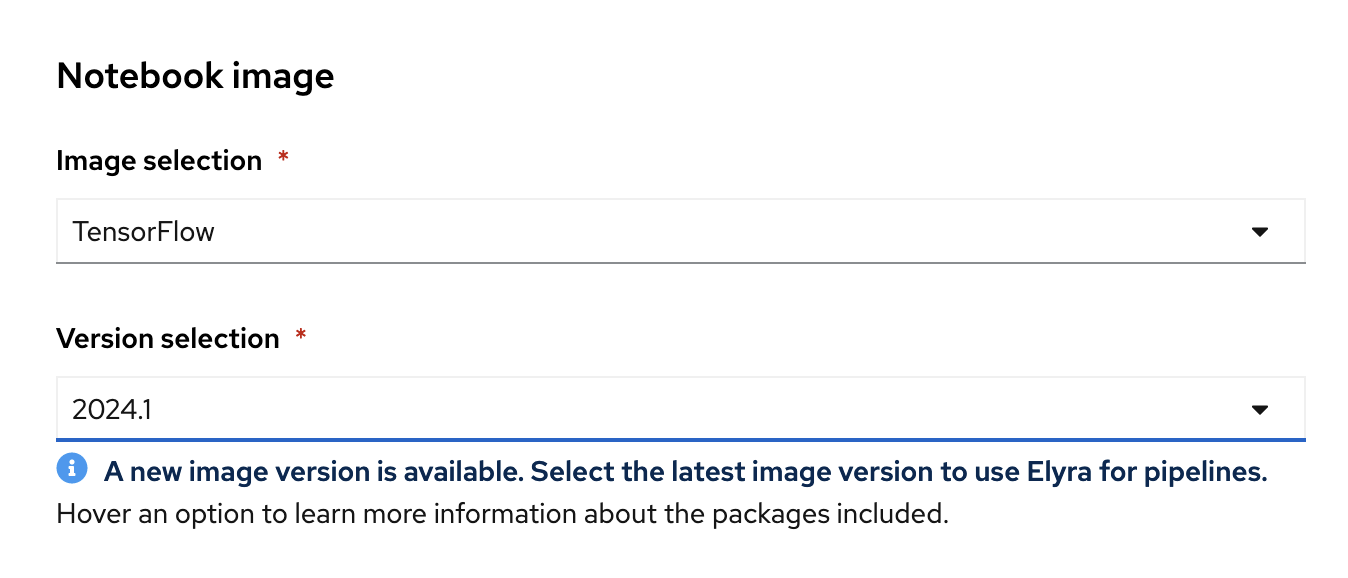
Red Hat provides several supported workbench images. In the Workbench image section, you can select one of the default images or a custom image that an administrator has set up for you. The Tensorflow image has the libraries needed for this workshop.
-
For the workbench image:
-
Select the image that includes Tensorflow:
Jupyter | Tensorflow | CUDA | Python 3.12
-
For the image version, select 2025.2.
-
-
Under the Deployment size section, for Hardware profile, select
default-profile. -
Keep the default environment variables and storage options.
-
For Connections, click Attach existing connection.
-
Select
My Storage(the object storage that you configured earlier) and then click Attach.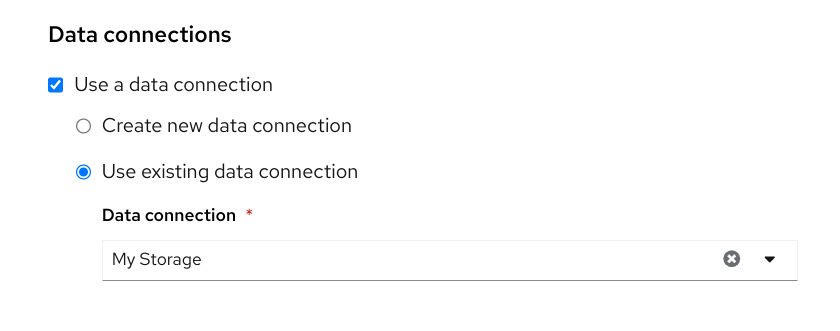
-
Click Create workbench.
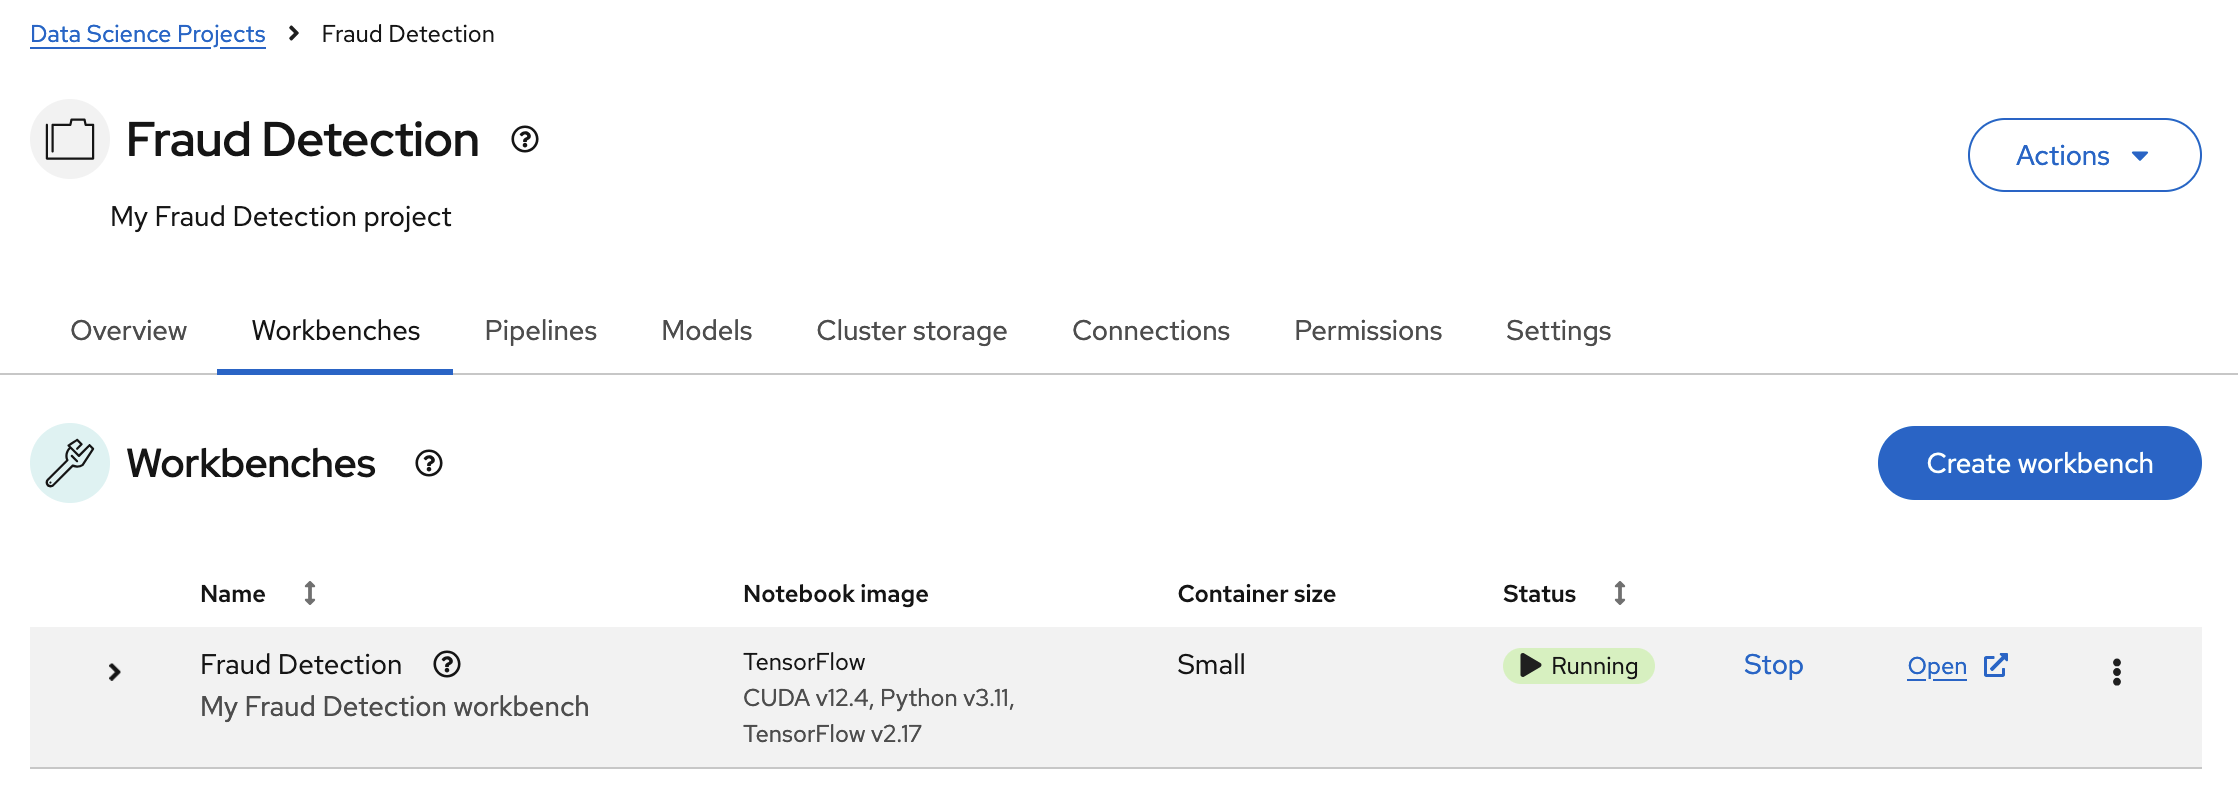
In the Workbenches tab for the project, the status of the workbench changes from Starting to Running.
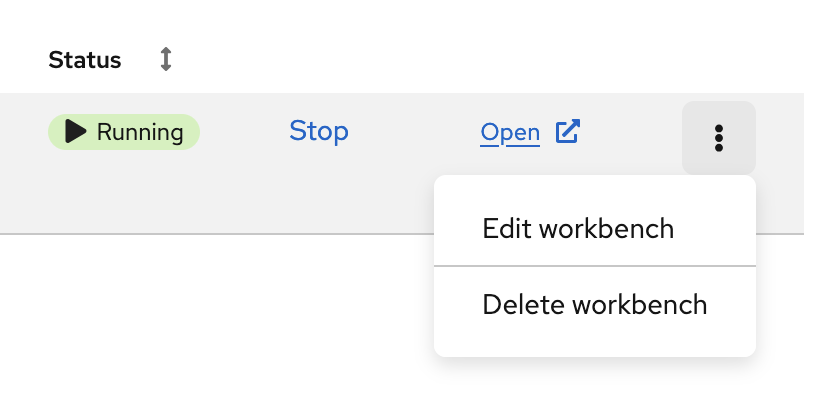
| If you made a mistake, you can edit the workbench to make changes. |